
WhatsApp Templates
Create a Utility WhatsApp Template
Create WhatsApp Utility templates for transactional messages such as order updates, payment notifications, reminders, confirmations, and account alerts.
Use a Utility template for transactional messages that follow an action the user already took, such as order confirmations, delivery updates, payment alerts and account notifications. Creating one takes four steps:
Meta may automatically recategorize a Utility template as Marketing based on its template policies. Keep the content strictly about the user's existing activity, such as an order, payment, renewal or alert.
Step 1: Create the template
Navigate to Templates → External → WhatsApp Templates, then click Create. Fill in the dialog and click Create Template.
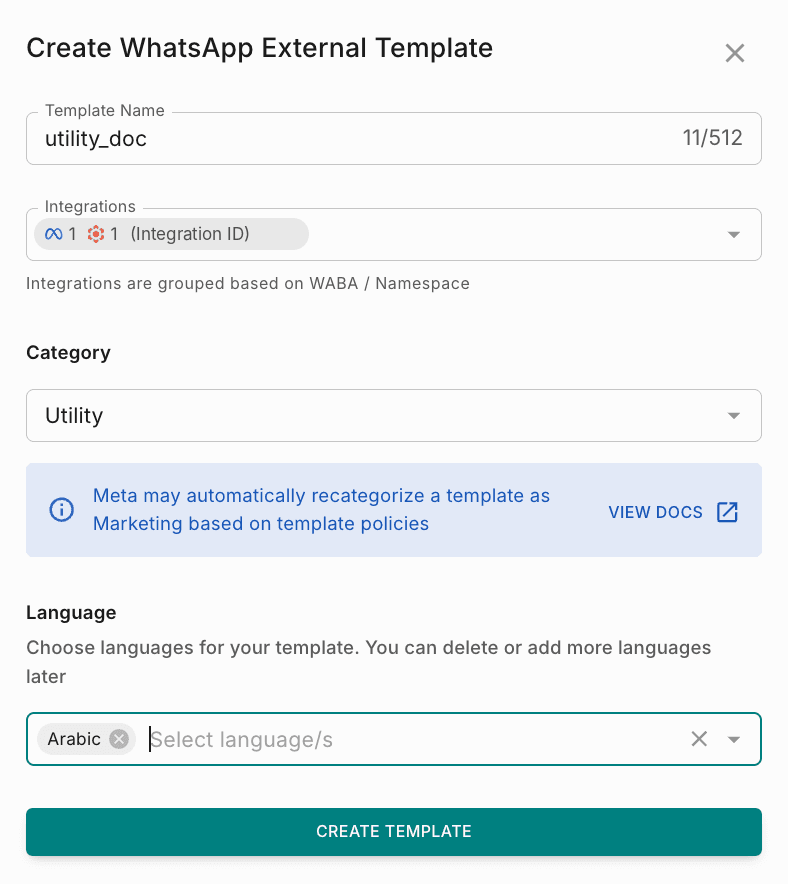
| Field | What to enter |
|---|---|
| Template Name | A unique name in lowercase, with underscores instead of spaces. For example, order_shipped_update. |
| Integrations | The WhatsApp Business Account to create the template in. The template can only send messages from this account's phone numbers. |
| Category | Select Utility. |
| Language | One or more languages. You can add or remove languages later. |
Step 2: Build the message
A Utility message has a header, body, footer and buttons. The Preview on the right shows how it looks.
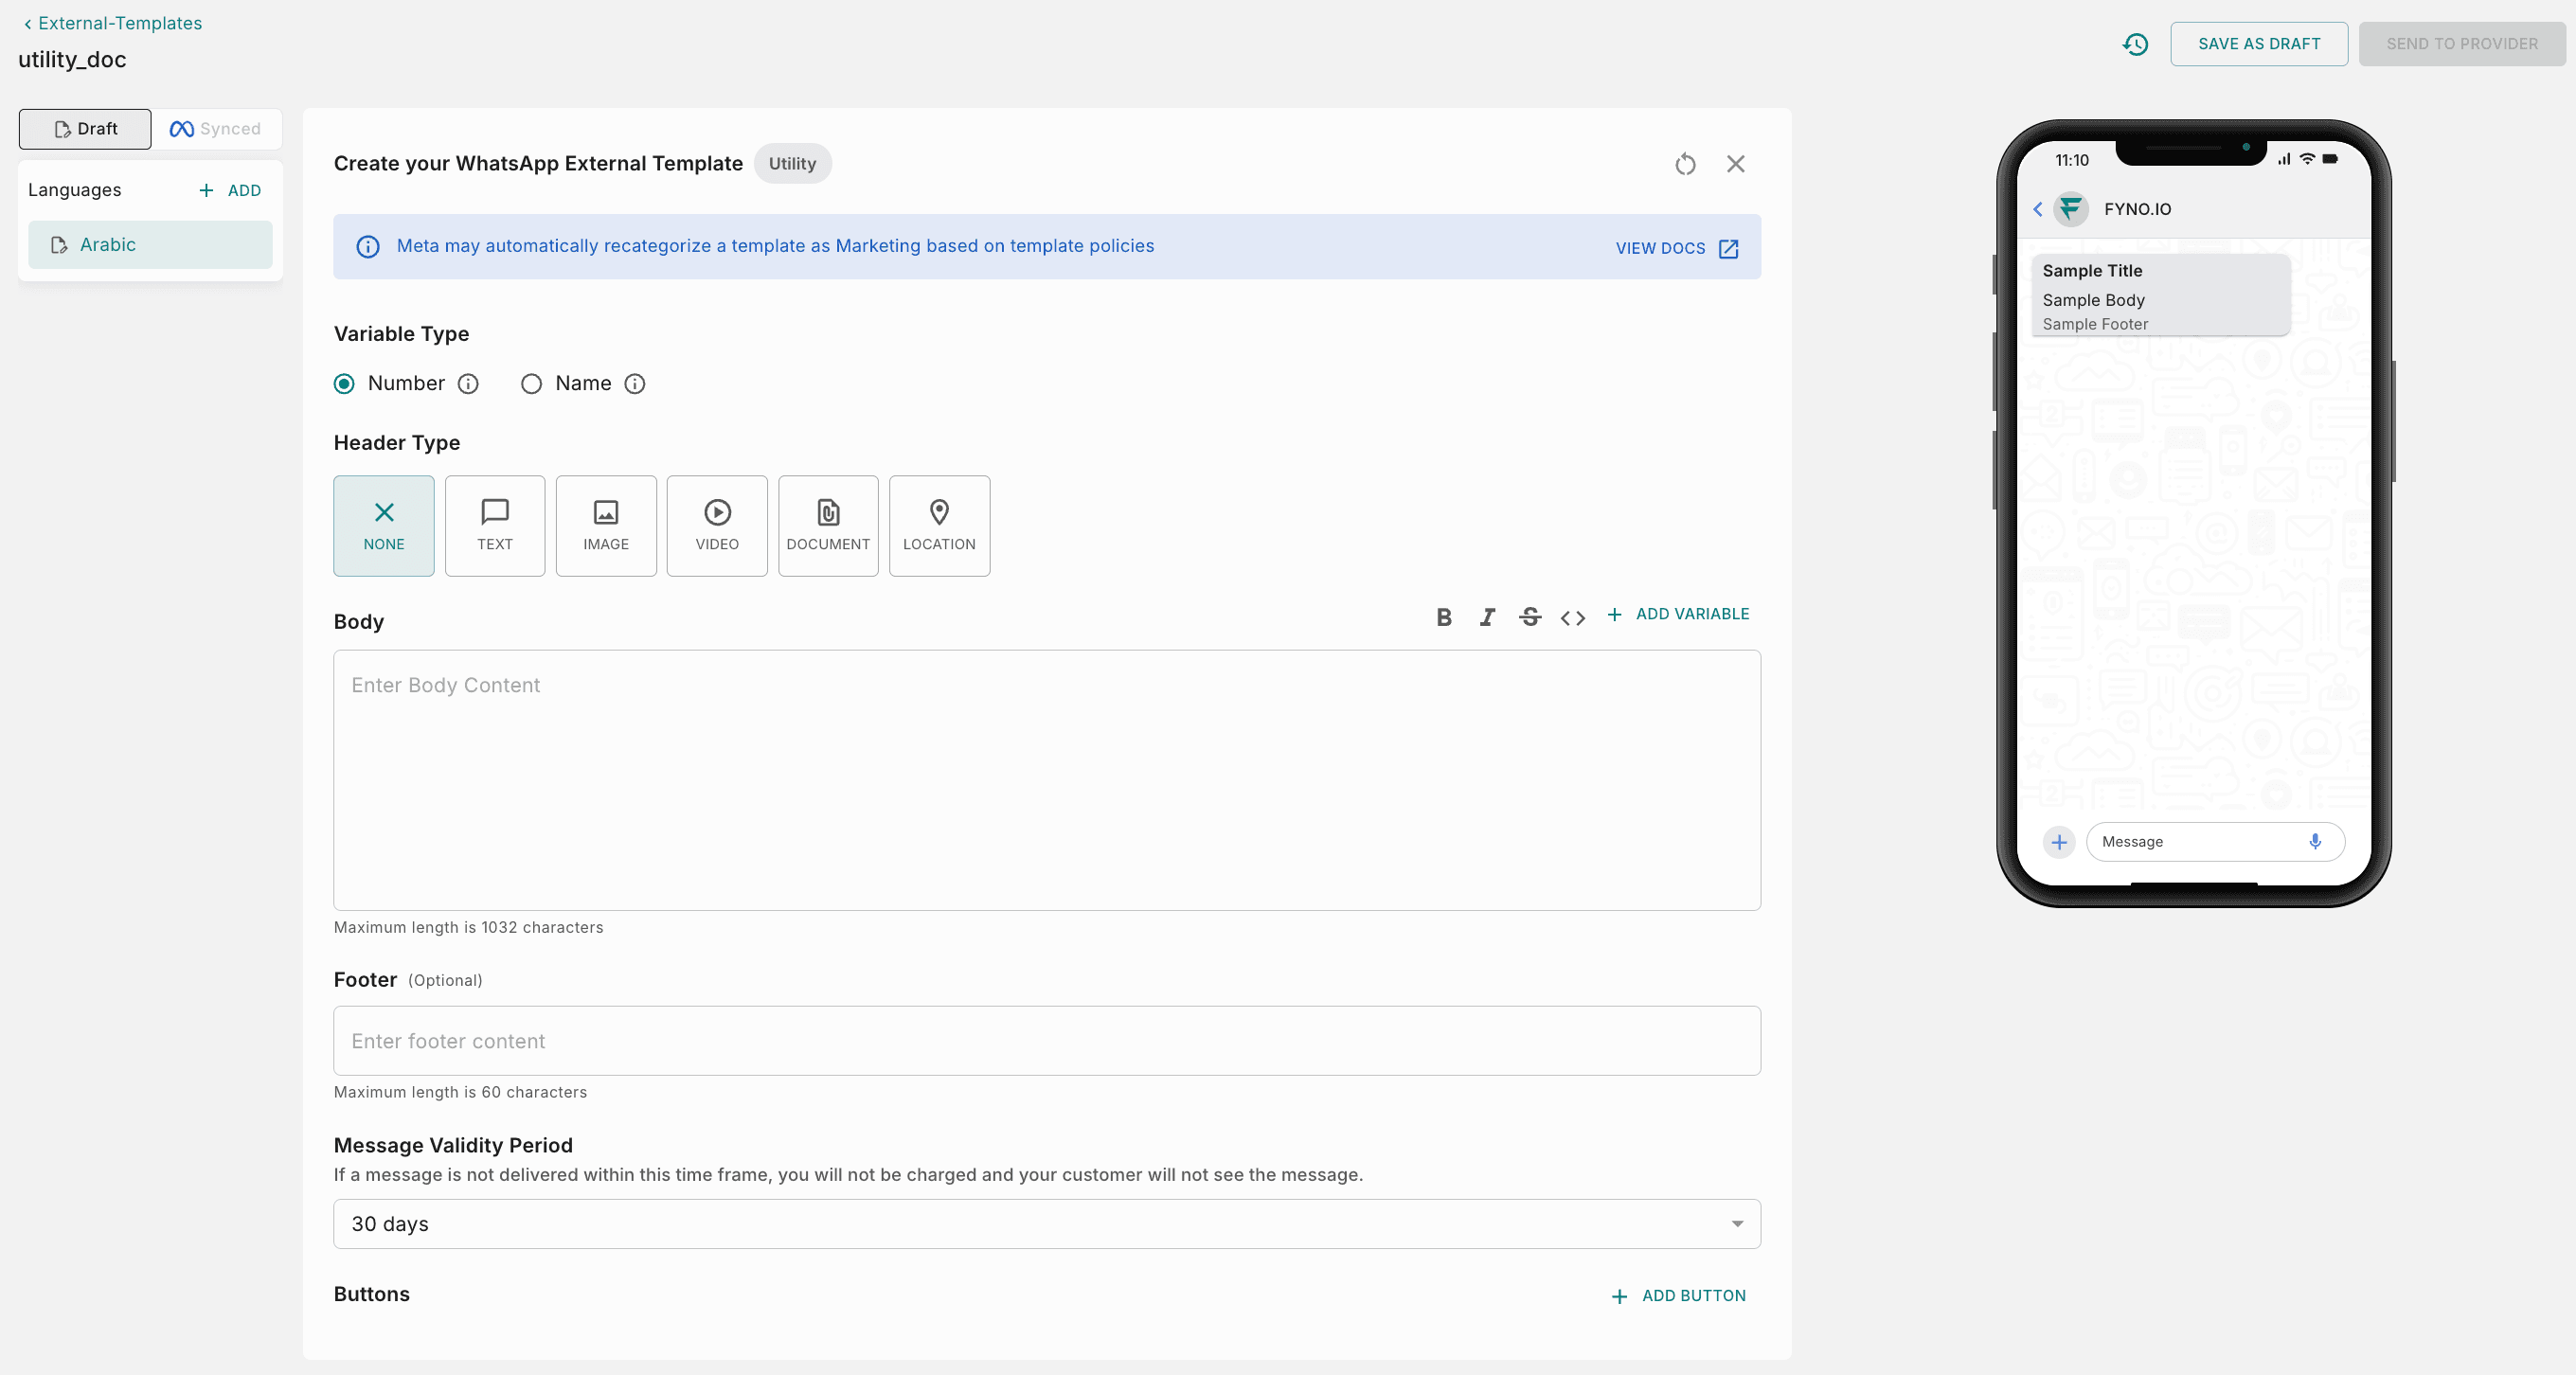
Add a header (optional)
The header appears at the top of the message. For Utility messages, keep it informational. Choose one type.
Media samples are only used by Meta to review your template. Do not include any customer information.
Write the body
Enter the main message (maximum 1,032 characters). Describe the notification clearly and refer to the user's existing activity. You can format text and add variables. Provide a sample value for every variable so Meta can review the message.
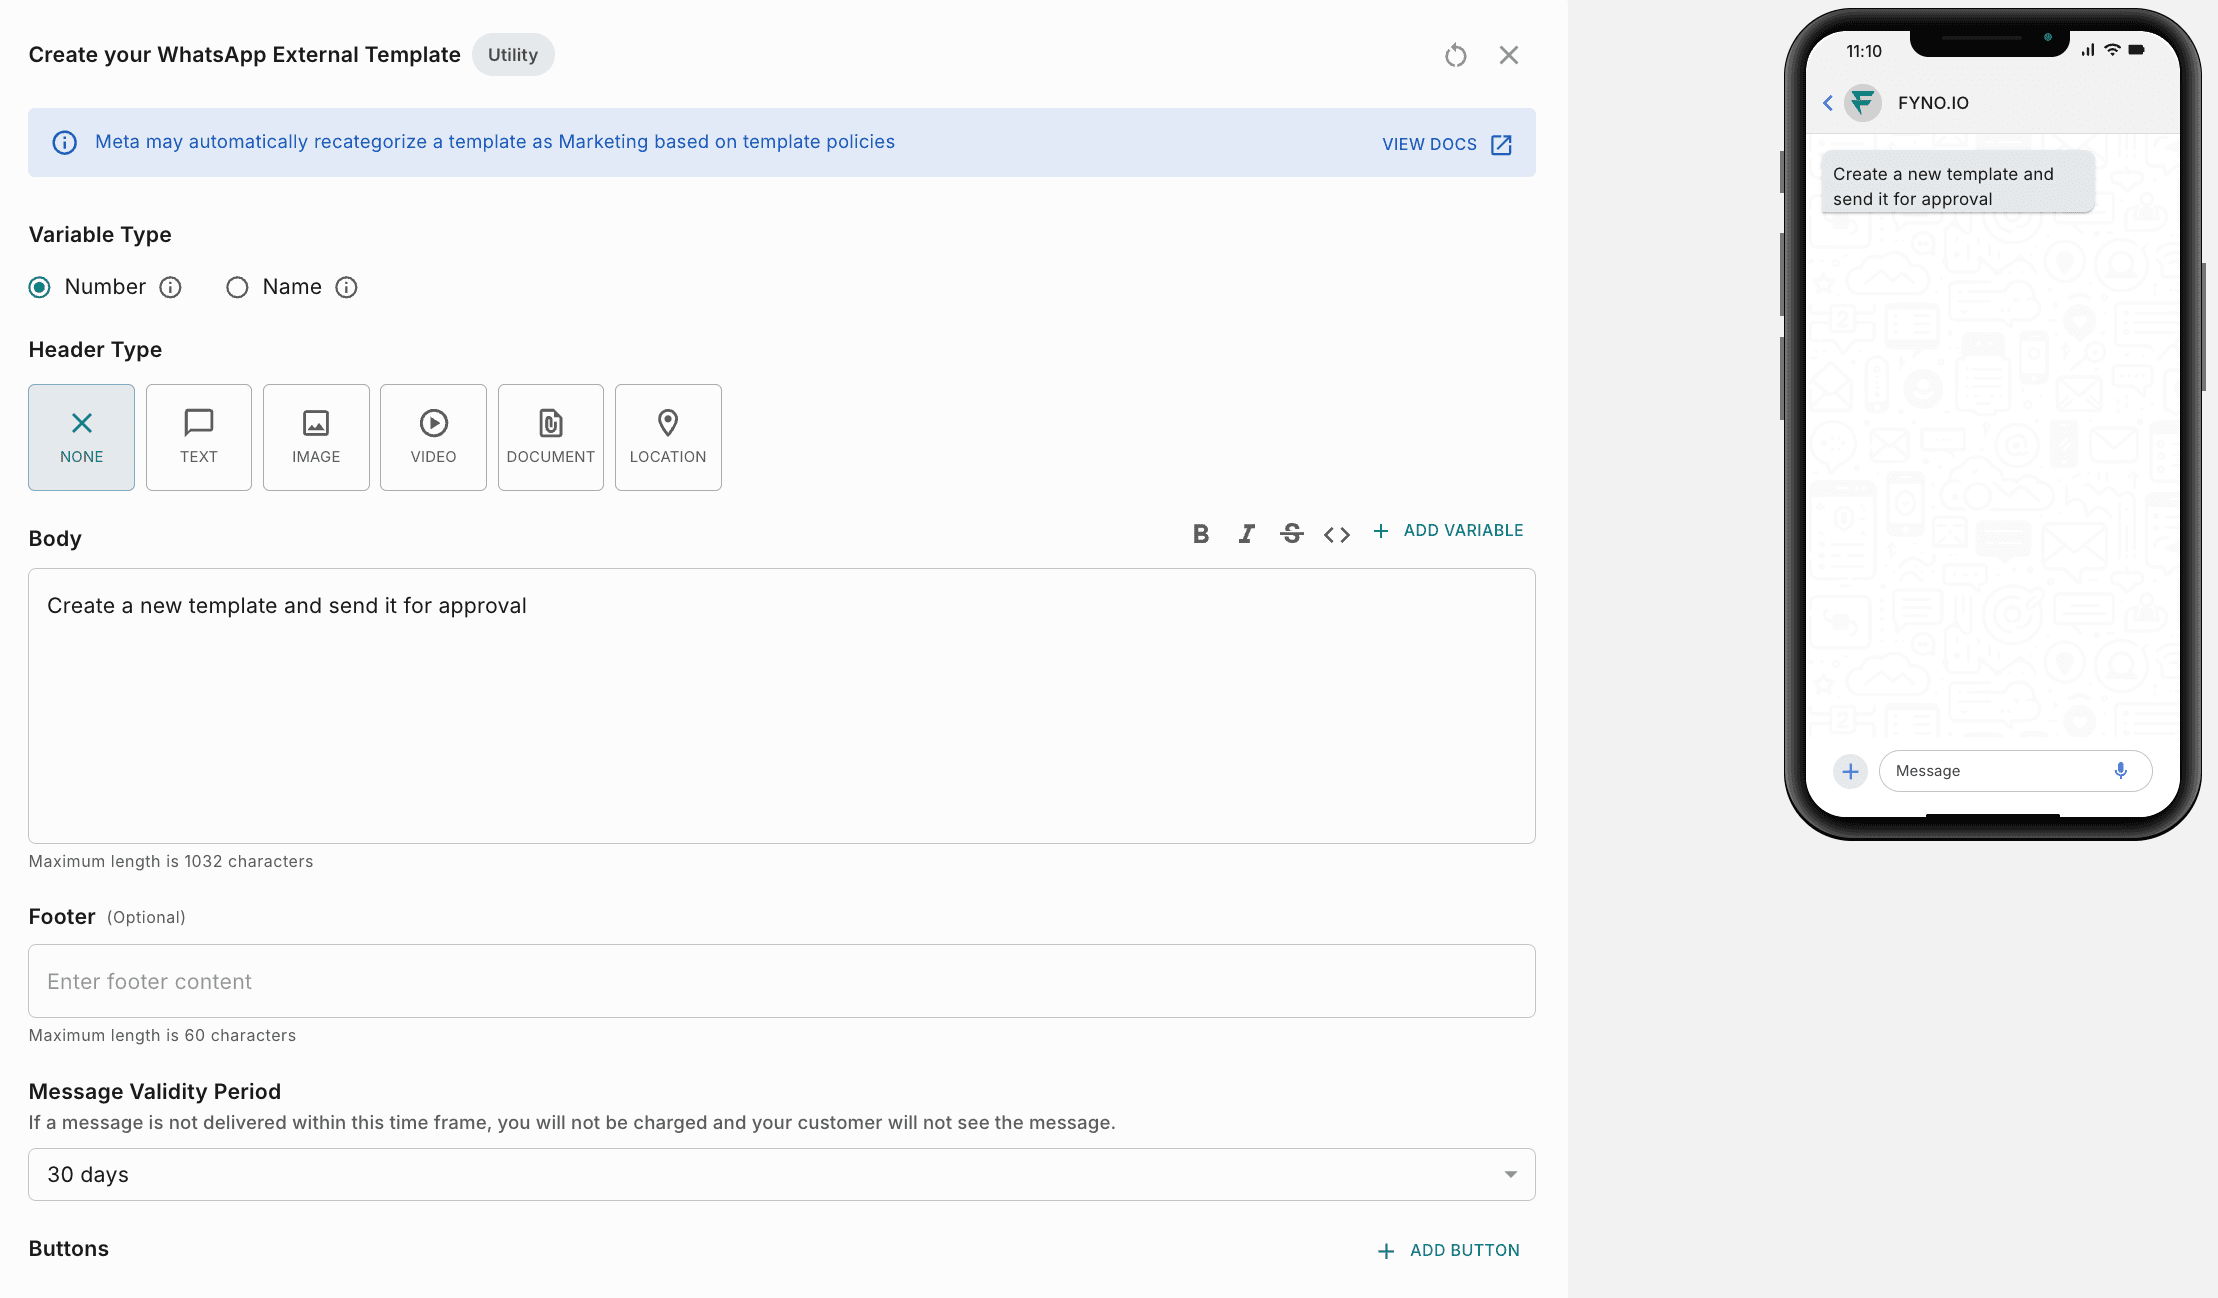
A short line at the bottom of the message, such as a disclaimer or support info. Maximum 60 characters, with no variables.

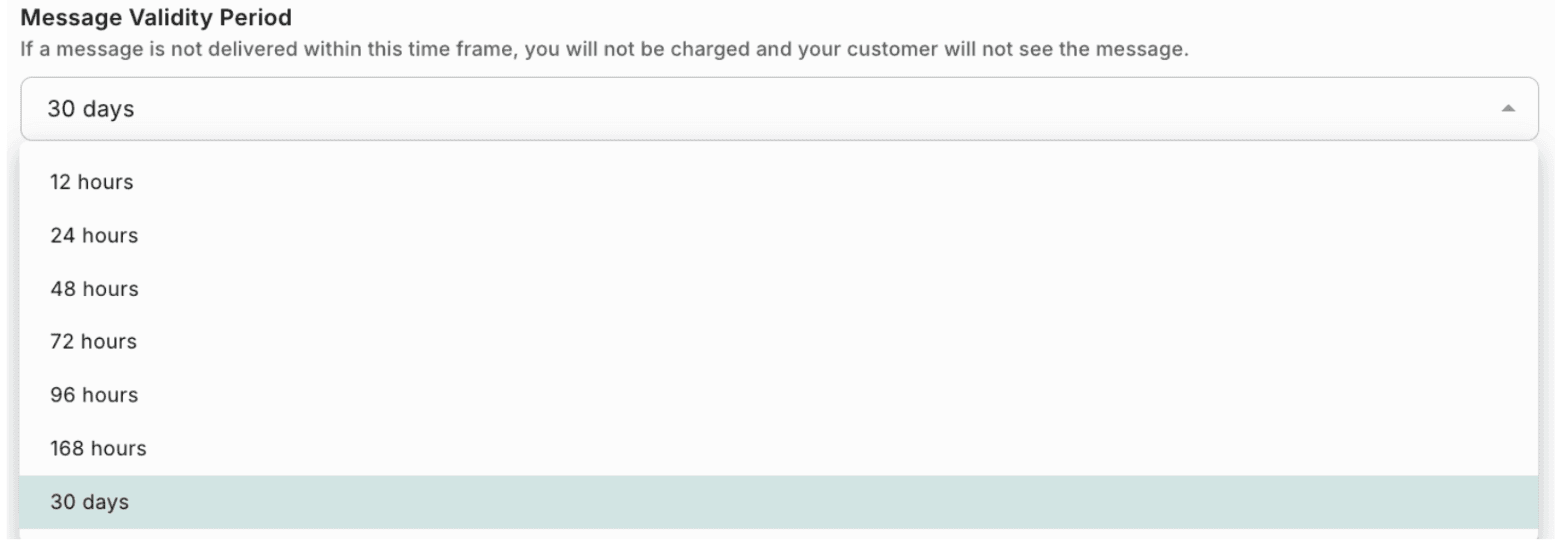
Set the message validity period
Choose how long Meta tries to deliver the message, for example 30 days. If it isn't delivered in time, you aren't charged and the recipient doesn't see it.
Add buttons (optional)
Buttons should help the user complete their existing action. Click Add Button and choose a type.
Step 3: Add more languages (optional)
To reach users in different regions, click Add next to Languages and add a version of the template in each language. Translate the message and button text, and keep the same variables in every language.
Step 4: Save or send for approval
When your template is ready, save it as a draft or send it to Meta for approval. See Save as Draft vs Send for Approval.