Creating a Template
InApp Templates
Create and manage InApp notification templates with rich content, attachments, CTAs, dynamic content, testing, versioning, and approval workflows.
Fyno's InApp template editor lets you configure templates for Fyno's InApp service. When you add the InApp channel to a template, the Create your Fyno InApp template screen opens.
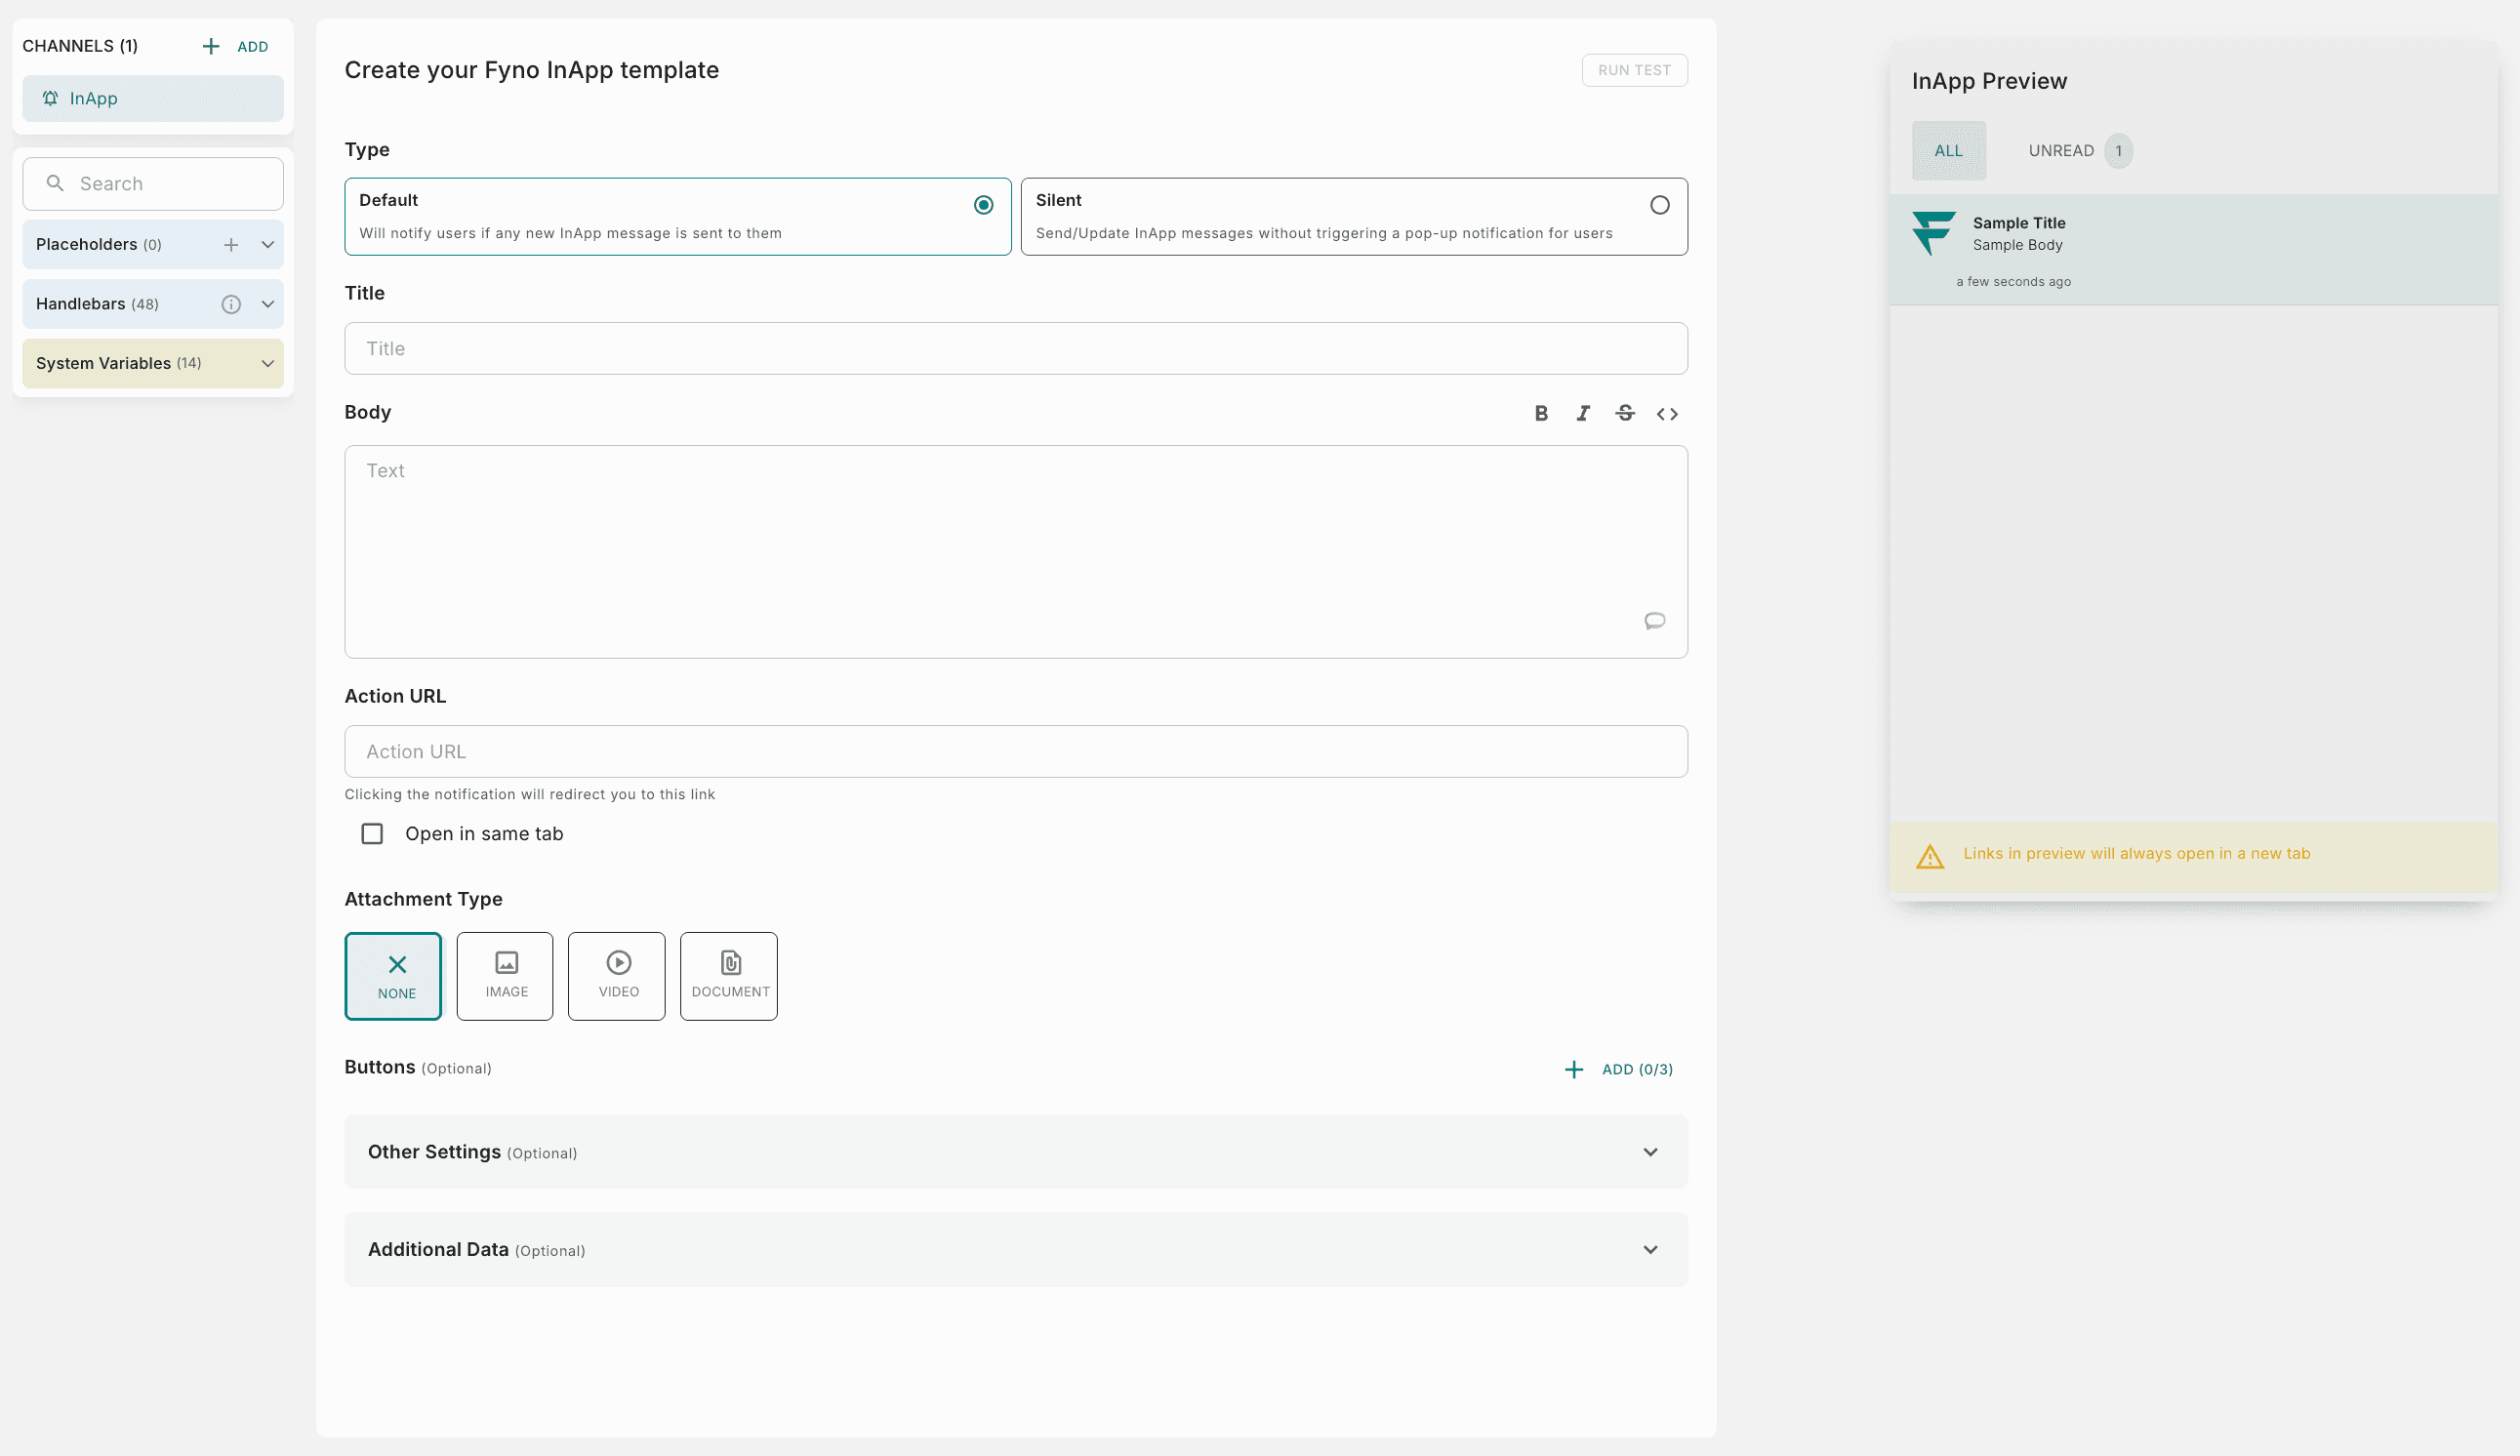
The InApp Preview on the right shows the notification panel that comes with the Fyno InApp SDK, with All and Unread tabs.
All links in the preview always open in a new tab, even when Open in same tab is selected.
Create an InApp template
Choose the type
| Type | What it does |
|---|---|
| Default | Notifies users when a new InApp message is sent to them. |
| Silent | Sends or updates InApp messages without triggering a pop-up notification for users. |
Title
Enter a title for the notification. It gives users short context about the notification.
Body
Enter the main content of the notification. Use the toolbar above the field for bold, italic, strikethrough and code formatting.
Action URL
Enter where clicking the notification takes the user. Enter a valid HTTP or HTTPS URL, or a route starting with / to route the user within the same path. By default, the link opens in a new tab. Select Open in same tab to open it in the same tab.
Attachment Type
You can add one attachment to a notification. The URL must be public.
No attachment is added.
Buttons (optional)
You can add up to 3 call-to-action buttons. The counter next to Add shows how many you've added, for example Add (0/3). Each button has these settings:
| Setting | What it does |
|---|---|
| Button | The title of the button. |
| Primary Button | Makes this the primary, highlighted button. |
| Link | Where the button takes the user. Enter a valid HTTP or HTTPS URL, or a route starting with / to route the user within the same path. |
| Open in same tab | By default, the link opens in a new tab. Select this to open it in the same tab. |
Use the delete icon to remove a button.
Other Settings (optional)
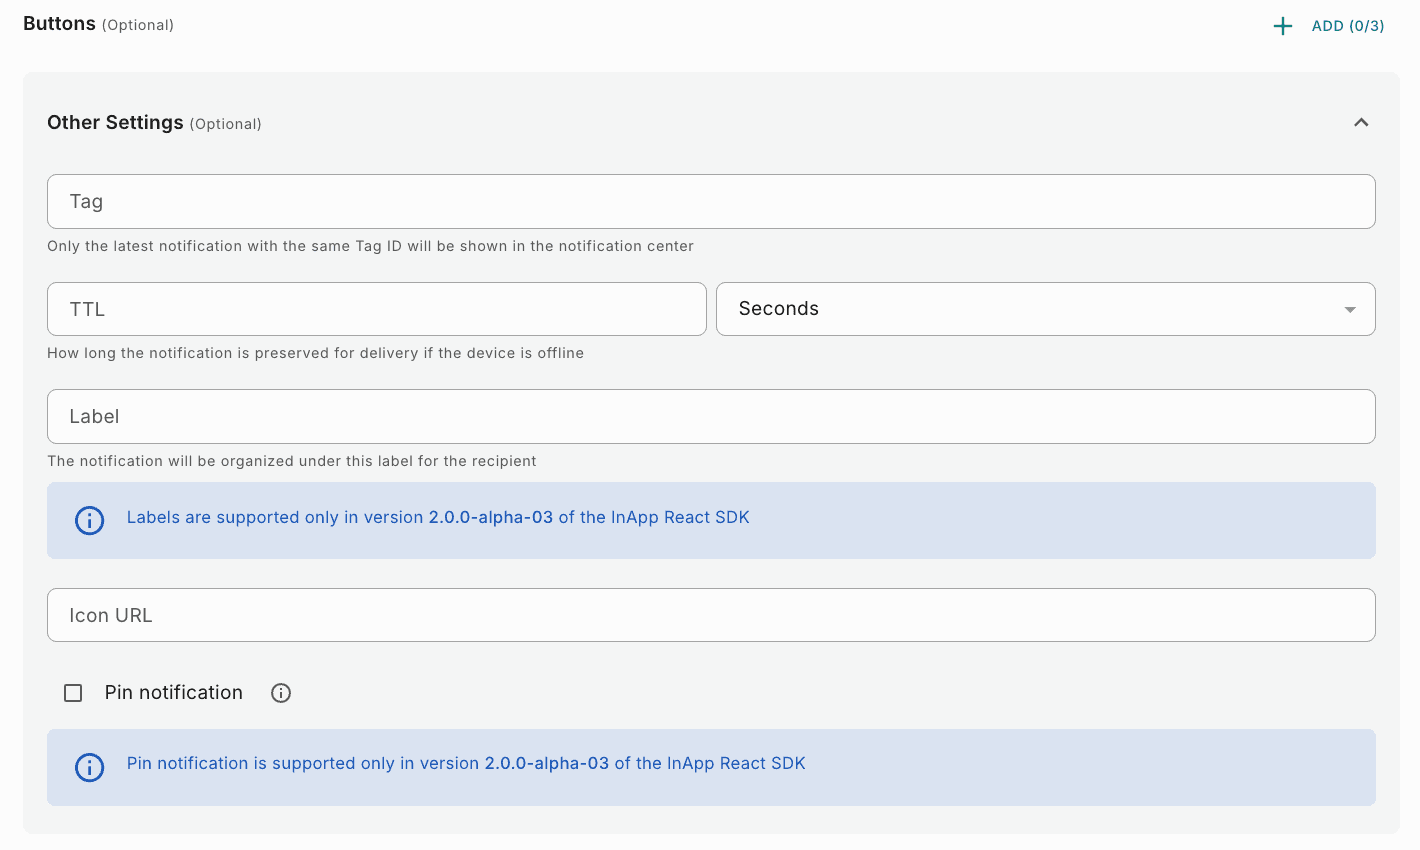
Expand Other Settings to configure these fields.
| Field | What it does |
|---|---|
| Tag | Only the latest notification with the same Tag ID is shown in the notification center. Use the same ID to update an existing notification instead of showing a new one. Maximum 64 characters. |
| TTL | How long the notification is preserved for delivery if the device is offline. Enter the value in the first field and select the unit of time, such as Seconds, in the second. |
| Label | The notification is organized under this label for the recipient. |
| Icon URL | Overrides the default icon for this template. By default, the icon is the image provided to the SDK, and it is used when this field is empty. The URL must be public. Supported file types are jpeg and png. |
| Pin notification | Pins the notification for the recipient. |
Label and Pin notification are supported only in version 2.0.0-alpha-03 of the InApp React SDK.
Additional Data (optional)
Expand Additional Data to send extra information with the notification, as JSON.
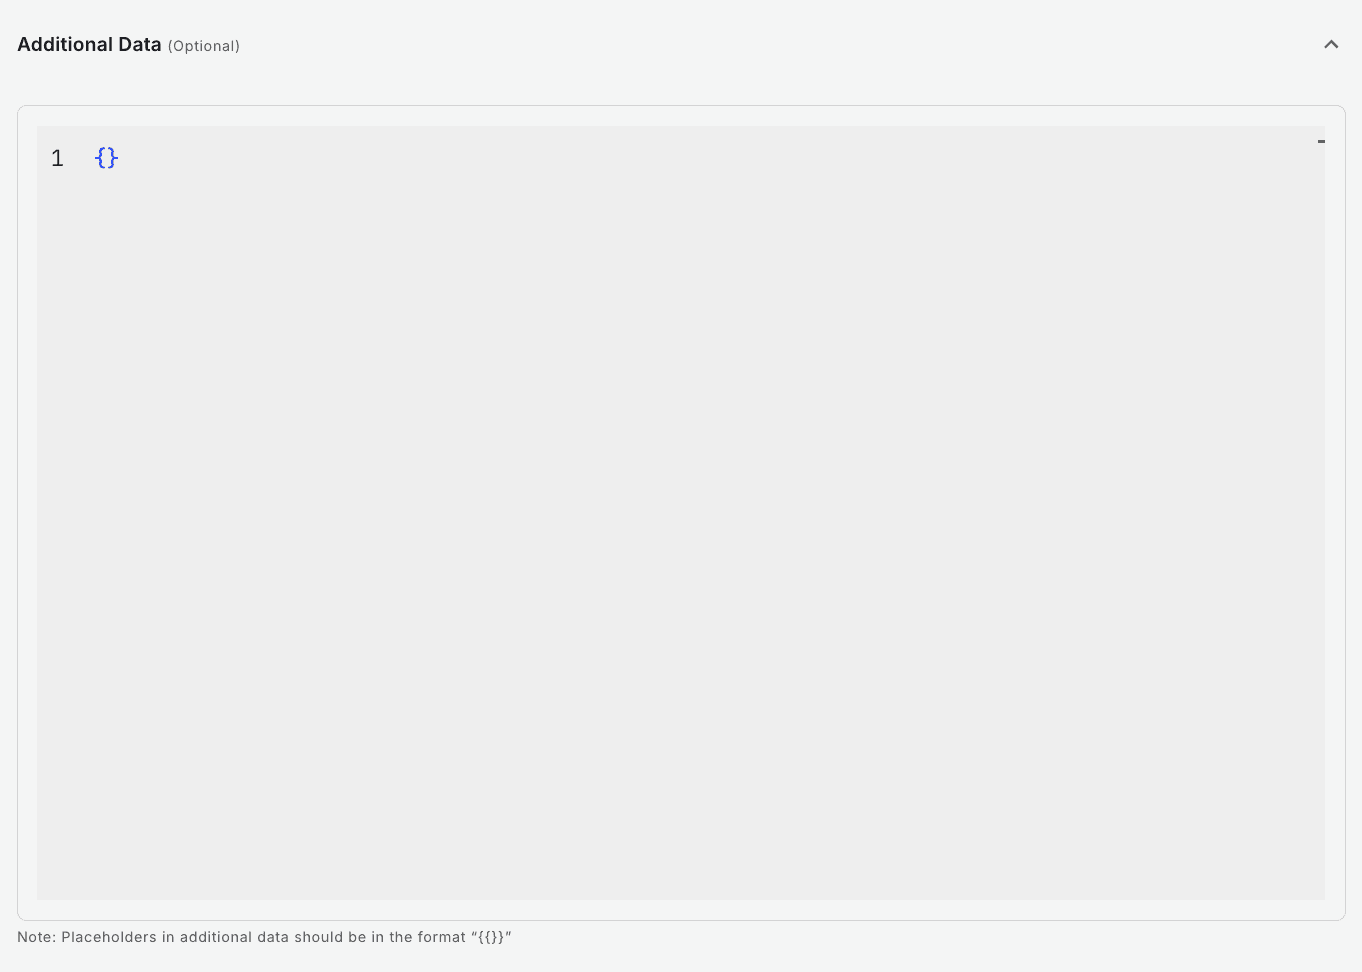
Placeholders in additional data must be inside double quotes, in the format "{{ }}". For example:
{
  "order_id": "{{order_id}}"
}
To use any user property in your templates, add it in this format: {{$user.$<user_property>}}. For example, to add Name as a placeholder from the User profile, add it as {{$user.$name}}.
You cannot use only numeric values as placeholder keys.
How to add dynamic content
You can add dynamic content to your templates using one of the four options below:
How to test an InApp template
Use this feature to test a template thoroughly before including it in any Notification Event. This ensures early detection and resolution of any potential issues, for a seamless user experience.
Click Run Test at the top right of the template. The Test InApp template pop-up opens.
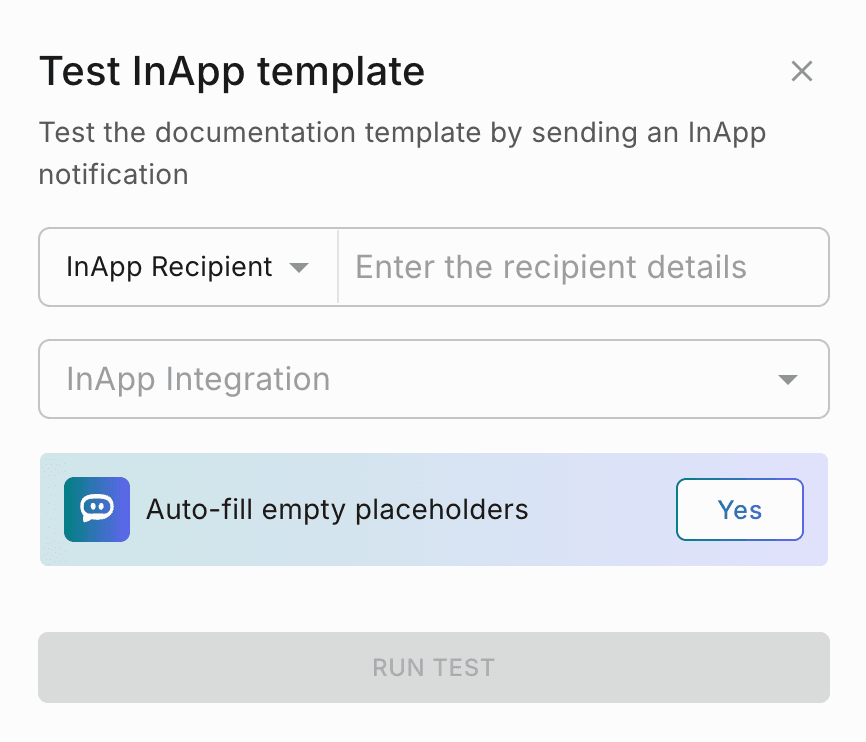
From the dropdown, choose InApp Recipient and enter the recipient's details, or choose Distinct ID and enter it. Make sure to enter the distinct_id of a Test User profile.
In InApp Integration, select an InApp integration that is already configured in Fyno.
Auto-fill empty placeholders (optional, AI assistance): If your template has placeholders with no sample values, Fyno can fill them using AI so you can test the notification. Click Yes to let Fyno fill sample values for the empty placeholders.
Click Run Test to send the InApp notification to the recipient with the selected integration. You see the success or failure message along with a link to the Sent Logs.
Save and go live
Click Save to save the template as a Test version. You can save different versions of the template this way. Use Go Live when you are ready to move your template to the Live version.
If template approvals are enabled in your workspace, Go Live needs an additional approval step. Choose from your designated approvers, who review and authorize the template changes. See Approval flow for the steps.