Fyno Templates
Creating a Template
Learn how to create, manage, test, and publish notification templates across all supported channels in Fyno using static and dynamic content.
A template holds the content Fyno sends for a notification. You can create one template with content for every channel you need, and each channel is edited separately inside the same template.
A template can consist of two types of content:
- Static Content: This portion of the template remains consistent for all recipients and contains the core message or design of your notification.
- Dynamic Content: This part of the template includes placeholders that are dynamically populated with user-specific information. These placeholders can be mapped to data from your data payload, allowing you to personalize the notification content for each recipient. Examples of dynamic content include customer names, SIP amounts, due dates, and other relevant information. Learn more in Dynamic Content.
Supported channels
A channel needs a template before Fyno can send on it. Templates support the following channels.
| Channel | Guide |
|---|---|
| SMS | SMS Templates |
| WhatsApp Templates | |
| Email Templates | |
| Push | Push Templates |
| InApp | InApp Templates |
| Voice | Voice Templates |
| Webpush | Web Push Template |
| RCS | RCS Template |
| Slack | Slack Template |
| Discord | Discord Template |
| Teams | Teams Template |
Create a template
Open the Templates page
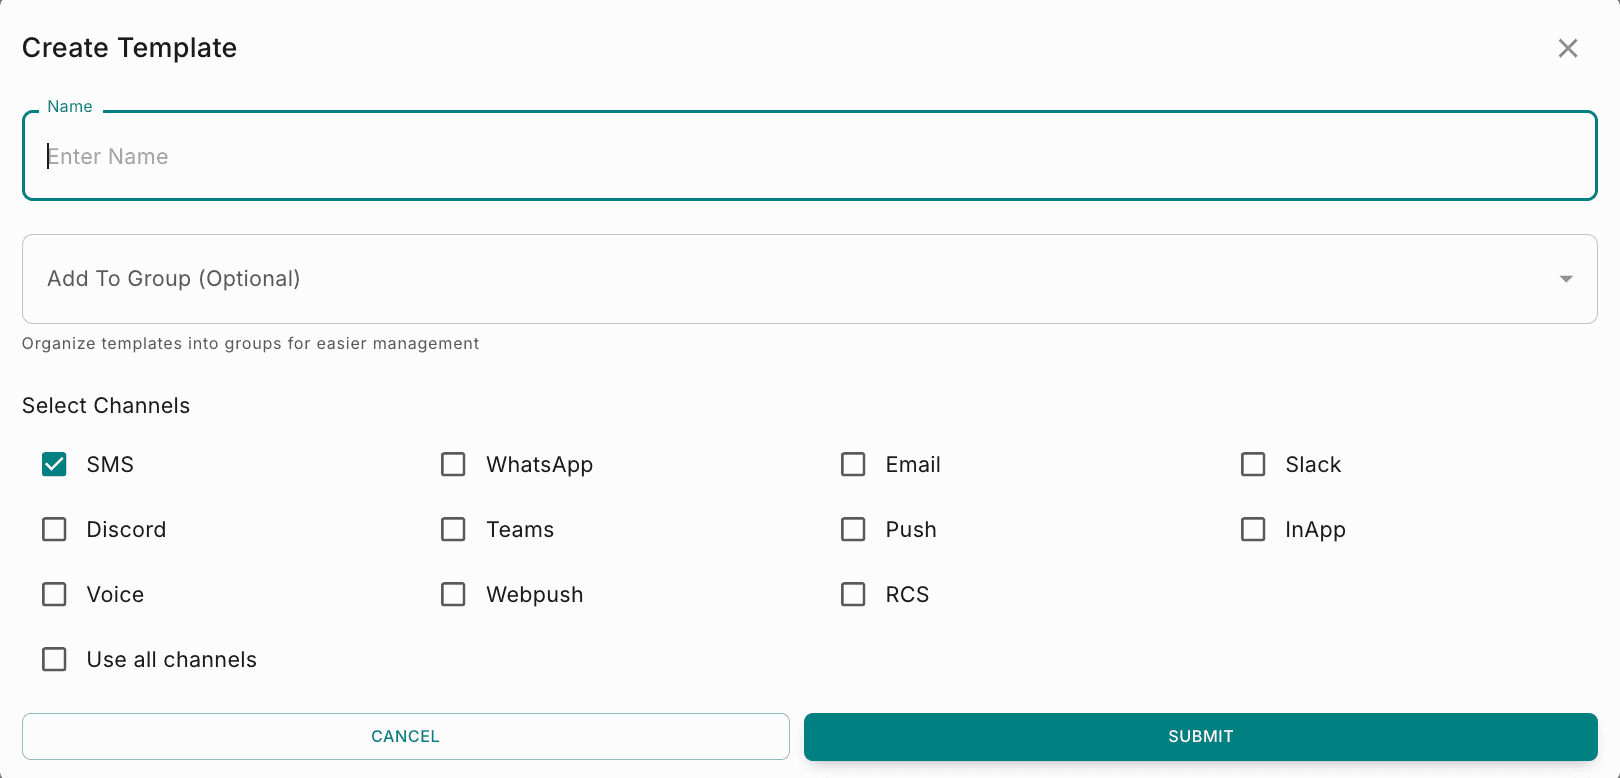
Go to Templates → Fyno and click Create in the top right corner.
Name the template
Enter a Name. Use something your team will recognize, such as order_shipped or sip-payment-reminder.
Add it to a group (optional)
Choose a group from Add To Group (Optional) to keep related templates together.
Select channels
Select every channel this template should support, or select Use all channels. SMS is selected by default. You can add or remove channels later from the editor.
Submit
Click Submit. The template editor opens with the first channel ready to edit.
The template editor
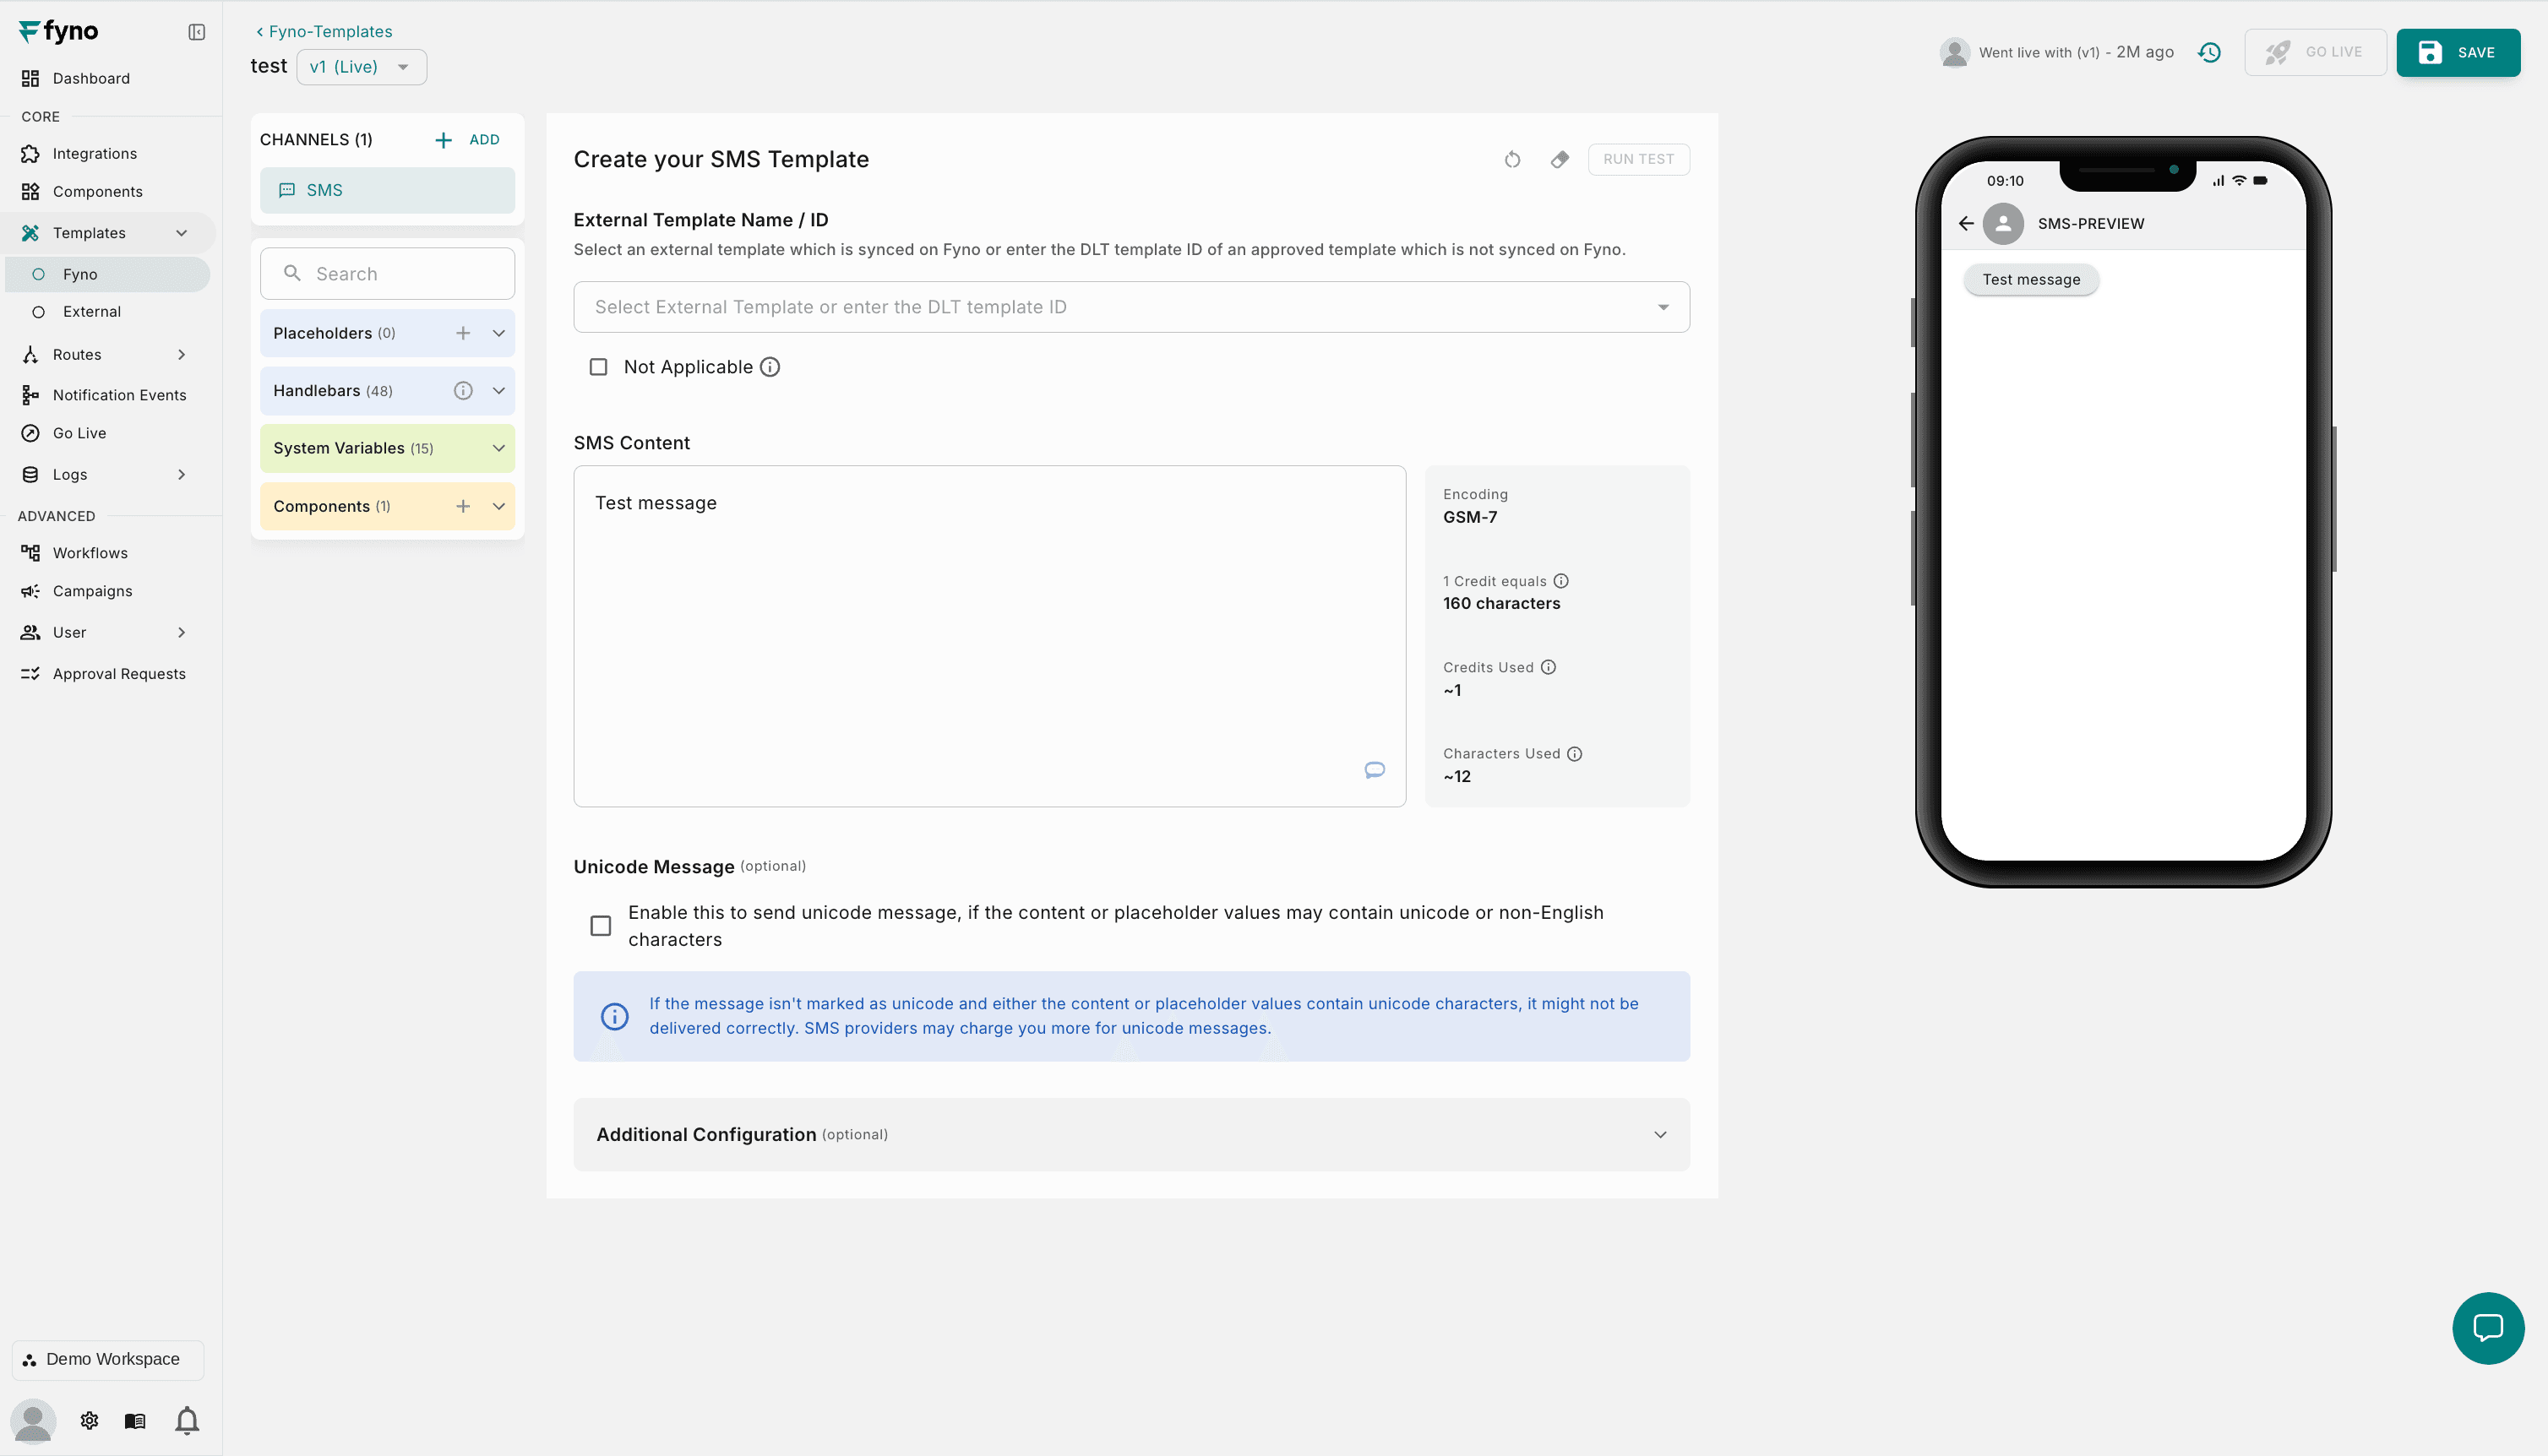
The editor has four areas. The example below shows an SMS channel, but the layout is the same for every channel.
| Element | What it does |
|---|---|
| ‹ Fyno-Templates | Returns to the Templates page. |
| Template name and version dropdown | Shows the version you are viewing, for example v1 (Live). Use the dropdown to switch between versions. |
| Last published | Shows who last took the template live, which version, and when. |
| History icon | Opens the change logs. |
| Go Live | Promotes the current version to Live. |
| Save | Saves your changes as a Test version. |
Add dynamic content
Dynamic content is written using double curly braces, for example {{customer_name}}. At send time, Fyno replaces each one with the matching value. The left panel gives you four sources of dynamic content.
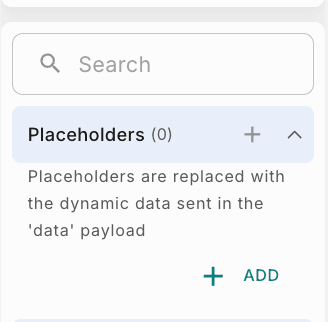
Placeholders
Placeholders are replaced with values from the data payload you send when you trigger a notification.
Open the placeholder editor
Click + next to Placeholders in the left panel.
Add keys and sample values
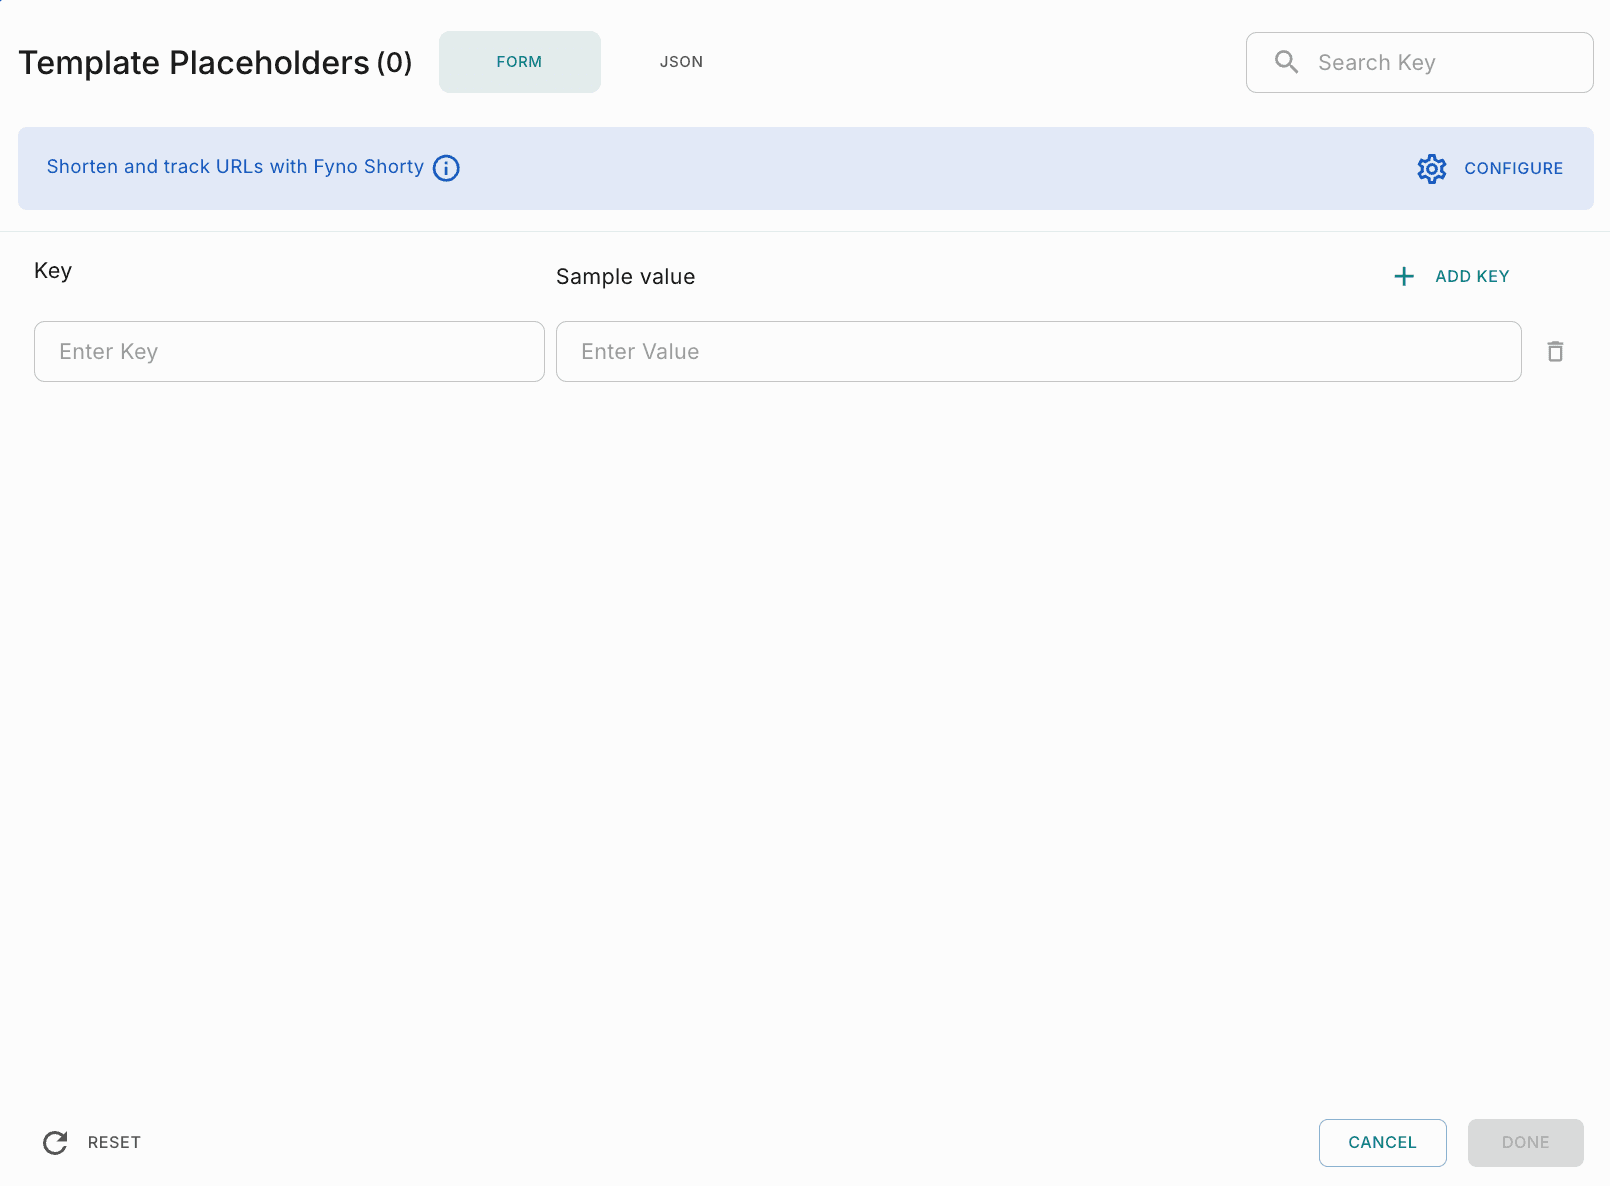
In the Form tab, enter a Key and a Sample value for each placeholder. Click Add Key for more rows, or switch to the JSON tab to paste them all at once.
Save the placeholders
Click Done. Sample values are only used for the preview and for test sends.
Use them in your content
Type the key inside double curly braces wherever you need it, for example Hi {{name}}, your order {{order_id}} has shipped.
In the JSON tab, sample values look like this:
{
  "name": "Priya",
  "order_id": "ORD-48213",
  "amount": "2,499"
}
Want short or trackable links? Click Configure on the Shorten and track URLs with Fyno Shorty banner inside the placeholder editor. See Fyno Shorty for details.
Placeholder keys can contain letters, numbers, periods (.), underscores (_), and hyphens (-). A key cannot be made up of numbers only.
Handlebars
Handlebars helpers transform values at send time, such as formatting dates, doing arithmetic, changing text case, or showing content only when a condition is true. The editor groups 48 helpers into categories.
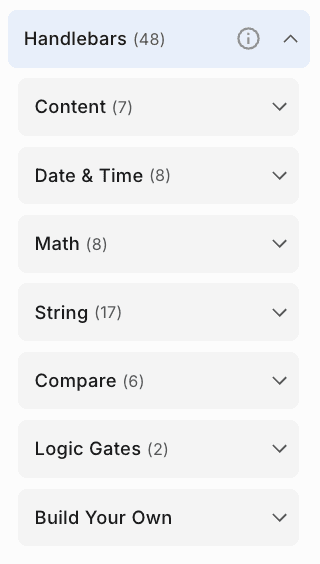
| Category | Use it to |
|---|---|
| Content | Insert or repeat blocks of content. |
| Date & Time | Format and adjust dates and times. |
| Math | Perform arithmetic on numeric values. |
| String | Change case, trim, replace, and otherwise transform text. |
| Compare | Check whether values are equal, greater, or smaller. |
| Logic Gates | Combine conditions with and/or logic. |
| Build Your Own | Compose your own expression from the helpers above. |
See Handlebars for every helper with examples.
System Variables
System Variables are values Fyno already knows, so you do not need to send them in your payload.
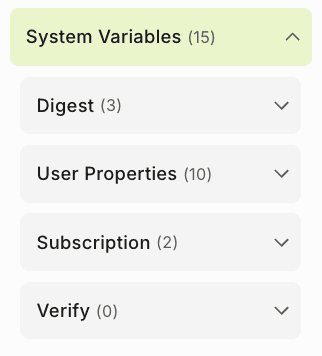
| Group | What it contains |
|---|---|
| Digest | Values for templates sent through a digest in a workflow. |
| User Properties | Properties from the recipient's user profile. |
| Subscription | Values related to the recipient's subscription preferences. |
| Verify | Values generated by Fyno Verify. |
To use a user profile property, follow this format:
| Property type | Format | Example |
|---|---|---|
| Built-in property | {{$user.$<property>}} | {{$user.$name}} |
| Custom property | {{$user.<property>}} | {{$user.loyalty_tier}} |
Components
Components are reusable building blocks, such as a PDF attachment or a shared header, that you create once and use across templates. Click + next to Components to add one, then select it to insert it.
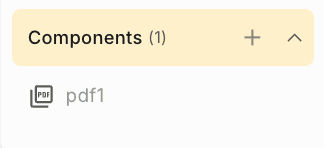
Learn more in Components and Dynamic Content.
Test a template
Send a real message before you attach a template to a notification event, so you can catch problems early.
Click Run Test
Open the channel you want to test and click Run Test at the top of the content editor.
Choose a recipient
Enter the recipient's destination, such as a mobile number or email address, or enter the distinct_id of a user profile.
If you use a distinct_id, use a test user profile so real customers never receive test messages.
Choose a provider
Select one of the providers already configured for this channel in your integrations.
Send
Click Test. Fyno shows whether the send succeeded or failed, along with a link to the Sent Logs entry.
Save and go live
Every template has Test and Live versions, so you can work on changes without affecting what your users receive.
| Action | Result |
|---|---|
| Save | Saves your changes as a Test version. The current Live version keeps sending as before. |
| Go Live | Promotes the version you are viewing to Live. |
The version dropdown next to the template name shows which version you are viewing, for example v2 (Test) or v1 (Live).
When a template goes live, every notification event, workflow, and campaign that uses it starts sending the new Live version immediately. Test before you go live.
View change logs
Click the history icon in the header bar to see every change made to the template. Each entry shows:
- Who made the change.
- Which version was changed.
- The date and time of the change.
Request approval to go live
If your workspace has Approval enabled in security settings (a maker-checker workflow), clicking Go Live raises an approval request instead of publishing straight away.
Click Go Live
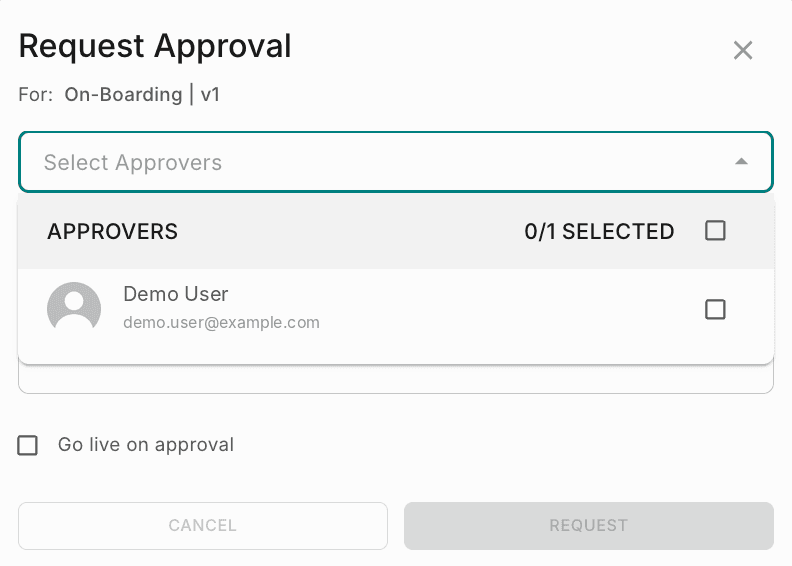
The Request Approval dialog opens.
Choose approvers
Open the Select Approvers dropdown and select one or more approvers.
Add a message and decide when it goes live
In Write a Message, add a short reason for the request. Select Go live on approval to publish automatically once the request is approved. Leave it unselected if you want to publish manually after approval.
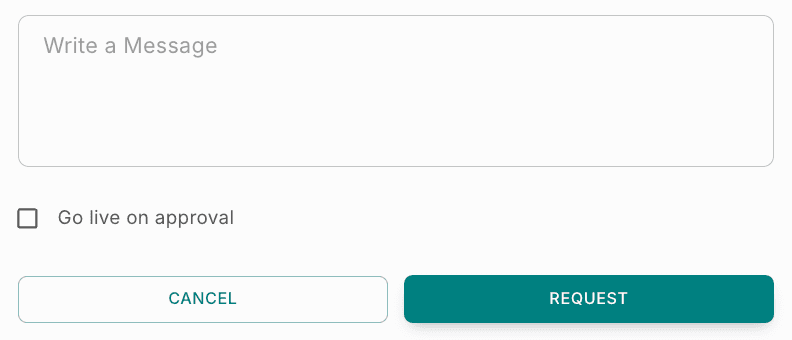
Send the request
Click Request. The pending request appears at the top of the template page, along with the number of approvals required.

Cancel the request (optional)
To withdraw the request, click Cancel Request, then click Confirm.
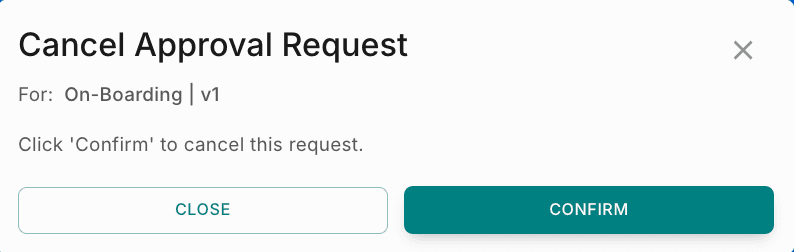
Once approved, the version goes live automatically if the requester selected Go Live on approval. Otherwise, the requester clicks Go Live to publish it. See Approval Request for more.